 Frete Grátis em todos os produtos
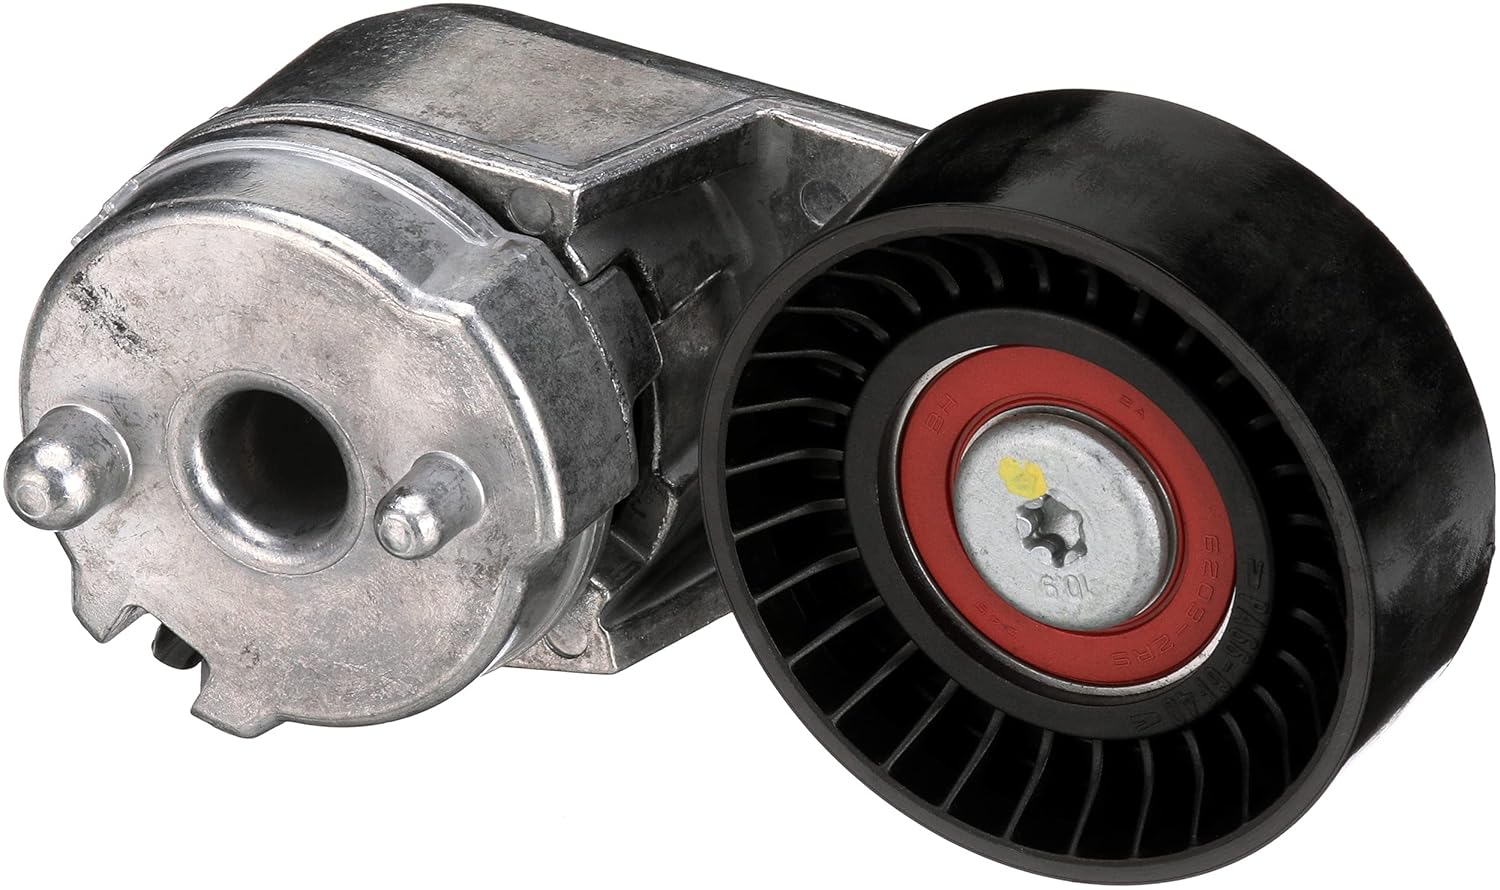
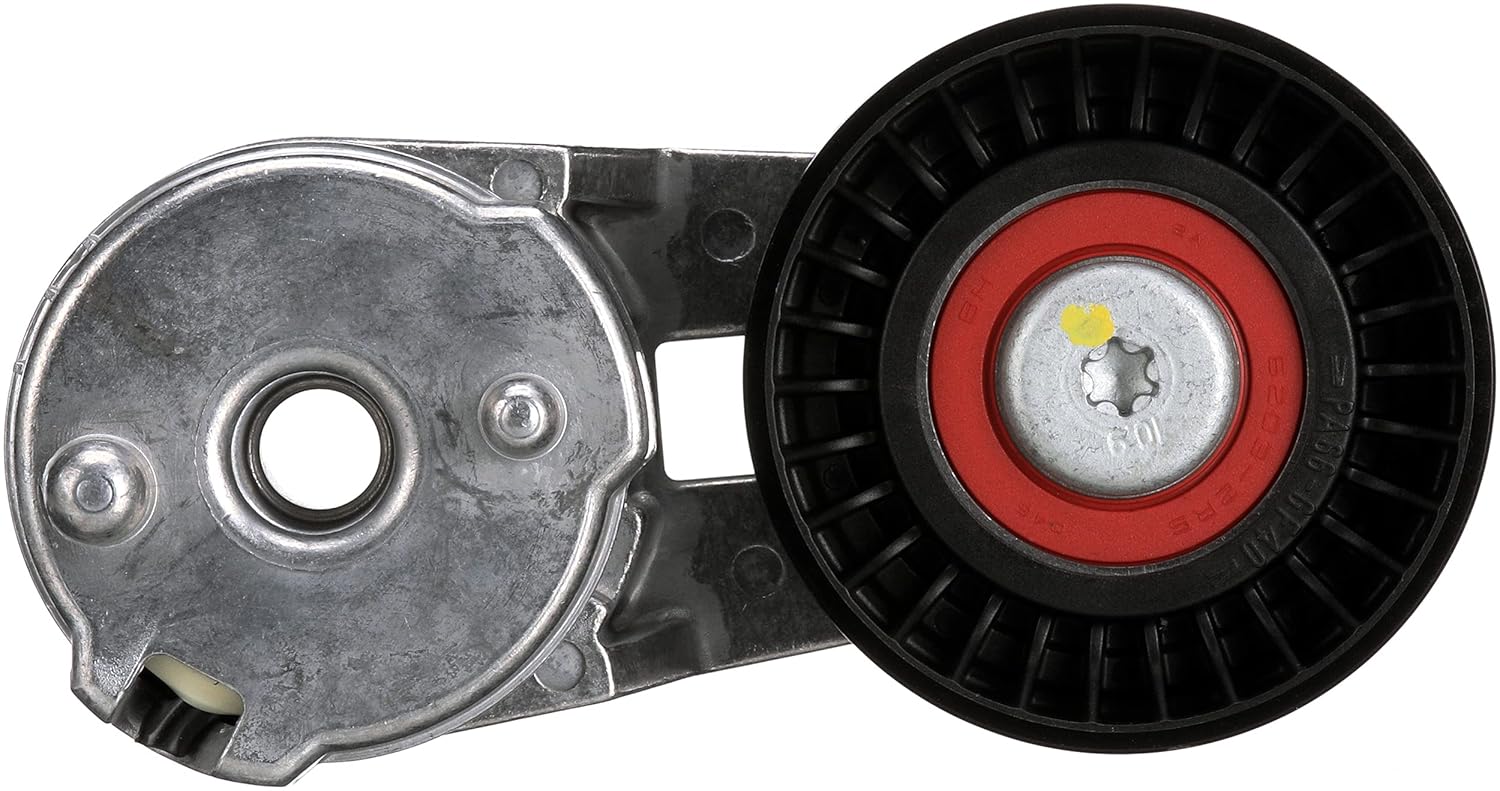
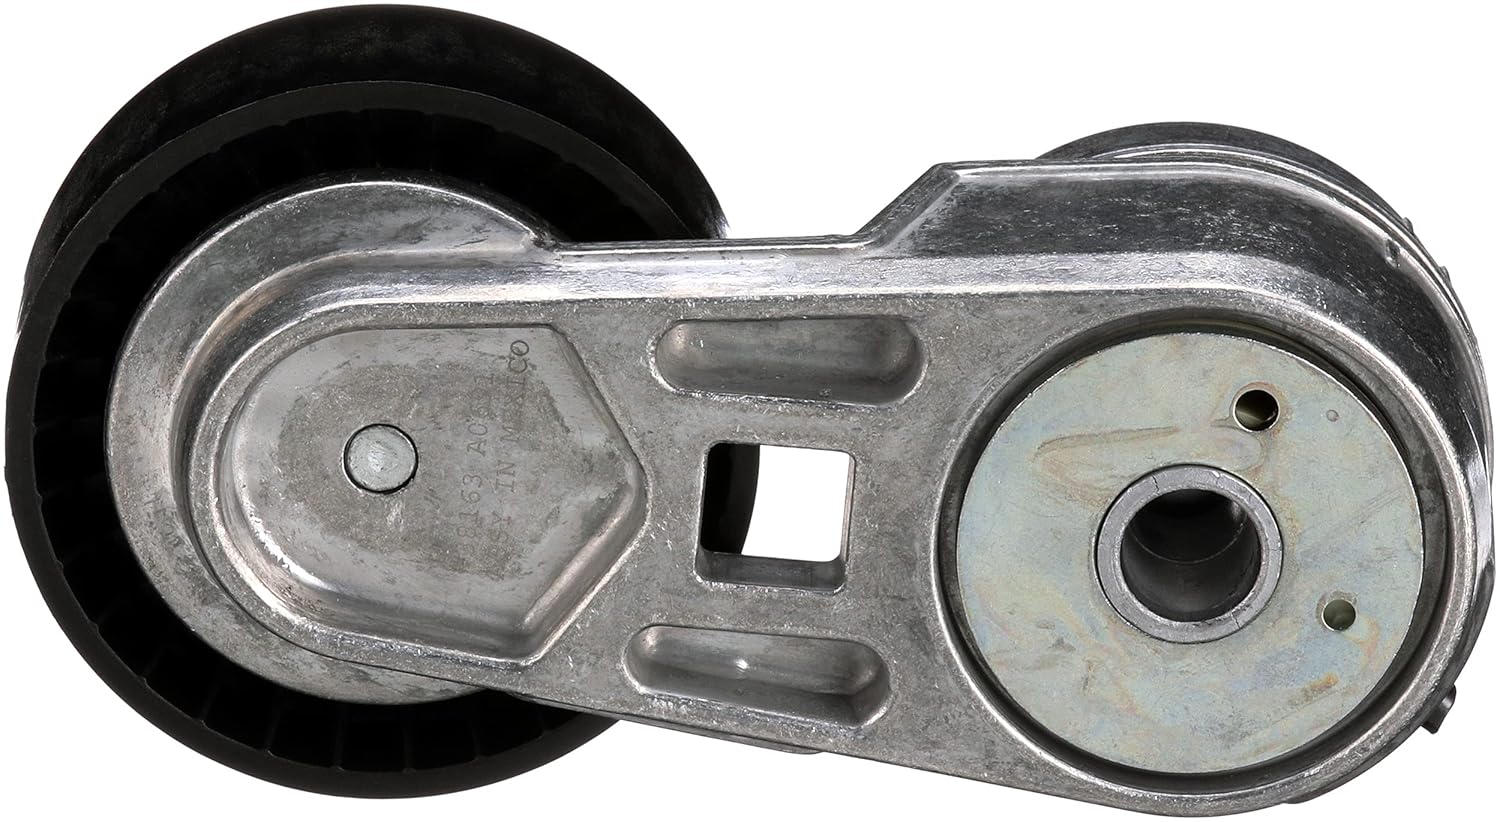


### Descrição do Produto: Gates 38163 DriveAlign Automatic Belt Drive Tensioner
O Gates 38163 DriveAlign Automatic Belt Drive Tensioner é a solução ideal para quem busca eficiência e durabilidade no sistema de transmissão de veículos. Com uma linha abrangente que inclui peças compatíveis com carros, vans, SUVs e caminhonetes leves, tanto nacionais quanto importados (europeus e asiáticos), este tensionador se destaca pela sua qualidade superior e tecnologia avançada.
Fabricado utilizando a mesma tecnologia ou materiais de qualidade aprimorada que as peças do Equipamento Original (OEM), o Gates 38163 garante um encaixe perfeito e desempenho excepcional. O design inovador do tensionador inclui um selo labirinto patenteado que protege os componentes internos, assegurando que o produto atenda ou supere os requisitos de expectativa de vida do OE. Isso significa que você pode confiar na durabilidade e na resistência do tensionador, mesmo em condições extremas.
Além disso, o sistema de amortecimento de vibrações patenteado absorve vibrações extremas, melhorando não apenas a vida útil do tensionador, mas também a do cinto e dos acessórios conectados. O design da mola redonda torsional proporciona confiabilidade e tensão consistente, garantindo que o sistema de transmissão funcione de maneira suave e eficiente.
### Instruções de Uso:
Para instalar o Gates 38163 DriveAlign Automatic Belt Drive Tensioner, siga os passos abaixo:
1. Desconecte a Bateria: Sempre comece desconectando a bateria do veículo para evitar qualquer risco elétrico.
2. Remova o Cinto: Utilize uma chave de tensão para soltar a tensão do cinto e remova-o do tensionador antigo.
3. Desmonte o Tensionador Antigo: Retire os parafusos que fixam o tensionador antigo e remova-o cuidadosamente.
4. Instale o Novo Tensionador: Posicione o Gates 38163 no local do tensionador antigo e fixe-o com os parafusos fornecidos.
5. Recoloque o Cinto: Com o novo tensionador instalado, coloque o cinto de volta, garantindo que ele esteja corretamente alinhado.
6. Reconecte a Bateria: Por fim, reconecte a bateria e ligue o veículo para verificar se o tensionador está funcionando corretamente.
### Características do Produto:
– Compatibilidade: Adequado para uma ampla gama de veículos, incluindo carros, vans, SUVs e caminhonetes leves, tanto nacionais quanto importados.
– Tecnologia de Fabricação: Produzido com materiais de qualidade superior, garantindo um desempenho equivalente ou superior ao OEM.
– Selo Labirinto Patenteado: Protege os componentes internos, aumentando a durabilidade e a vida útil do produto.
– Sistema de Amortecimento de Vibrações: Reduz as vibrações extremas, prolongando a vida útil do tensionador e dos acessórios.
– Design de Mola Torsional Redonda: Oferece confiabilidade e tensão consistente, essencial para o funcionamento adequado do sistema de transmissão.
### Perguntas Frequentes (FAQ):
Pergunta: O Gates 38163 é compatível com meu veículo?
Resposta: O Gates 38163 DriveAlign Automatic Belt Drive Tensioner é projetado para se adaptar a uma ampla gama de veículos, incluindo carros, vans, SUVs e caminhonetes leves, tanto nacionais quanto importados. Verifique a compatibilidade específica com o seu modelo.
Pergunta: Como posso saber se meu tensionador precisa ser substituído?
Resposta: Sinais de desgaste incluem ruídos estranhos, vibrações excessivas ou um cinto que não está alinhado corretamente. Se notar qualquer um desses sintomas, é recomendável verificar o tensionador.
Pergunta: Qual é a vida útil esperada do Gates 38163?
Resposta: Com o selo labirinto patenteado e o sistema de amortecimento de vibrações, o Gates 38163 é projetado para atender ou superar as expectativas de vida útil do OE, proporcionando um desempenho confiável por muitos quilômetros.
Pergunta: Posso instalar o tensionador eu mesmo?
Resposta: Sim, a instalação do Gates 38163 pode ser realizada por um mecânico experiente ou por entusiastas de automóveis com as ferramentas adequadas e conhecimento técnico. Siga as instruções de uso para garantir uma instalação correta.
Pergunta: O que fazer se o tensionador apresentar problemas após a instalação?
Resposta: Se você enfrentar problemas após a instalação, verifique se o tensionador foi instalado corretamente e se o cinto está alinhado. Se o problema persistir, entre em contato com o suporte ao cliente da Gates para assistência.


Recovering Jeep Owner –
I installed this to replace the aging tensioner on my 2005 Jeep TJ Wrangler. The unit itself is great so far, but BE CAREFUL removing the old tensioner. I didn’t know this, but the dowels can break off inside the holes of the generator mount if they are corroded. Use EVEN pressure when prying/removing the old tensioner. If you’re unlucky like me and have a dowel break off/get stuck inside a dowel hole, try to grab the remains of the dowel with a set of vise grips. If that doesn’t work, you can remove the generator and the generator mount from the engine block, drill a small hole on the other side of the “blind” dowel hole, and use a punch to tap out the remains of the dowel.
This is an extended description for what may be a specific problem, but I am sure it will help those of us trying to keep our TJs on the road.
Eat. Sleep. Jeep.
OBS 98 –
Allgood
Savvy Shopper –
At 125k miles I decided to refresh a lot of parts on my Jeep 4.0 to get another 100k out of it. For the money this Idler pulley was a great value. Easy to replace once you remove the belt.
Salió dañado con dos golpes en el interior de una tarja –
Está de acuerdo a lo que solicite
Helium Head –
Looks the same and functions perfectly. Will it last? Who knows. It was fairly low cost, but like everything else these days, considerably more expensive that last purchase. Install was simple on my old 6 cylinder Jeep.
Tenshi X –
I drive a 2006 Jeep Wrangler with 4.0L engine. I have reached 85,000 miles and had already replaced the serpentine belt. I have read that it is also recommended I replace the idler pulley and automatic belt tensioner.
The Gates 38163 is almost completely identical to the original OEM Chrysler/Mopar part.
Here is my experience installing it.
Things you’ll need:
* 1/2in drive breaker bar
* 3/8in. drive ratchet wrench
* 3/8in. drive Torx T40 bit
* (optional) new small rubber grommet
* (optional) thread locking compound
First, it is a good idea to take a picture of your serpentine belt and how it winds around your engine and pulleys.. There is supposed to be a belt routing diagram on your radiator, but often this label is often damaged. A picture is worth a thousand words.
Depending on your tools, it may be easier to remove the fan shroud and clutch fan so they won’t get in the way. I won’t cover this here.
Insert the square part of your breaker bar tool into the square hole in the middle of the tensioner arm. You turn the breaker bar to tighten the arm spring and remove tension from the belt. While holding your breaker bar, carefully remove the belt from one of the pulleys – then carefully relax the arm. Remove your breaker bar. The tensioner arm (and serpentine belt) is now ready for removal.
Attach a high quality Torx T40 bit to your ratchet and carefully remove the bolt securing your old tensioner arm to your engine. Take care not to strip the head as you loosen the bolt! You will reuse this bolt on your new belt tensioner.
Once you’ve released your old tensioner arm, do not remove the bolt from tensioner arm yet. Carefully examine the threaded side on your bolt – there is supposed to be a small rubber grommet (or “O-ring”) on the threaded side hugging the bolt. Many guides online do not mention this rubber ring! I am not entirely sure what the purpose of this rubber ring is, but I suspect it is used to dampen the vibration between the tensioner arm and engine and/or to help keep the bolt in place. If this small rubber grommet is missing or damaged, you could use a small O-ring seal normally used in plumbing like kitchen and bathroom sinks. An assorted size pack of O-rings is common and inexpensive. If you still have the original rubber grommet in good condition, carefully separate the rubber grommet from the bolt. Once separated, you may now remove the bolt from the tensioner arm.
After removal, while examining my original belt tensioner I was able to spin the pulley very freely with my hand – this means that the bearings no longer had sufficient grease to lubricate them. With the brand new pulley, the pulley turns easily as I use my hand, but I could not spin it. This means my new Gates belt tensioner’s bearings are well greased for the job.
Reinstall bolt into your new Gates tensioner arm. Lightly lubricate the small rubber ring and carefully slide as far as you can into threaded end of bolt. If you want, you may now apply thread locking compound at this point (I didn’t feel it was necessary). Attach new Gates tensioner arm to your engine, hand tighten Torx bolt, then use ratchet to finish tightening it. You do not need to use a lot of force to tighten it, just tighten to reasonable amount. I found some sites with a torque specification but I found this to be much tighter than original, so I didn’t trust this – I recommend to just tighten to reasonable amount you can do with your single arm alone with ratchet. Don’t put your weight on it! You never want a broken bolt stuck in your engine! Also careful not to strip the Torx head!
Once your new Gates tensioner arm is bolted back on, reinsert the breaker bar and wrap the serpentine belt back onto all the pulleys. You remembered to take a picture, right? Refer to your photo or belt routing diagram on your radiator. One hint is that the grooved side of the belt will only ride on grooved pulleys and conversely the smooth side of the belt will only ride along smooth pulleys. Release the arm, remove your breaker bar, examine everything – and you should be done.
In case you stripped your T40 bolt or need a new belt routing diagram sticker, below are the parts you can get from your dealer:
6507743AA – belt tensioner T40 bolt
53031700AB – belt routing diagram sticker for 4.0L
It’s much easier than I made it sound. But do the job right! I hope this review helps others! 🙂
michael gidzinski –
Installed in a jeep tj and works as expected
david gruber –
Quick easy install seems to be good quality
GB –
For nearly a year, I tolerated a whistle coming from my Jeep Grand cherokee. Mechanics, experts online, and everyone I talked to had a different guess at what was causing the noise. But it was quite embarrassing to start my car and have it whistle loud enough to be heard 2 to 3 houses away. Following the simple instructions and with the proper tool, completed this replacement in ten minutes. Not a peep out of my Jeep since then. Yay!
Jeep63 –
Used this when swapping in a new fan belt i. my son’s 2006 Jeep LJ. This fit just like the one it replaced.