 Frete Grátis em todos os produtos
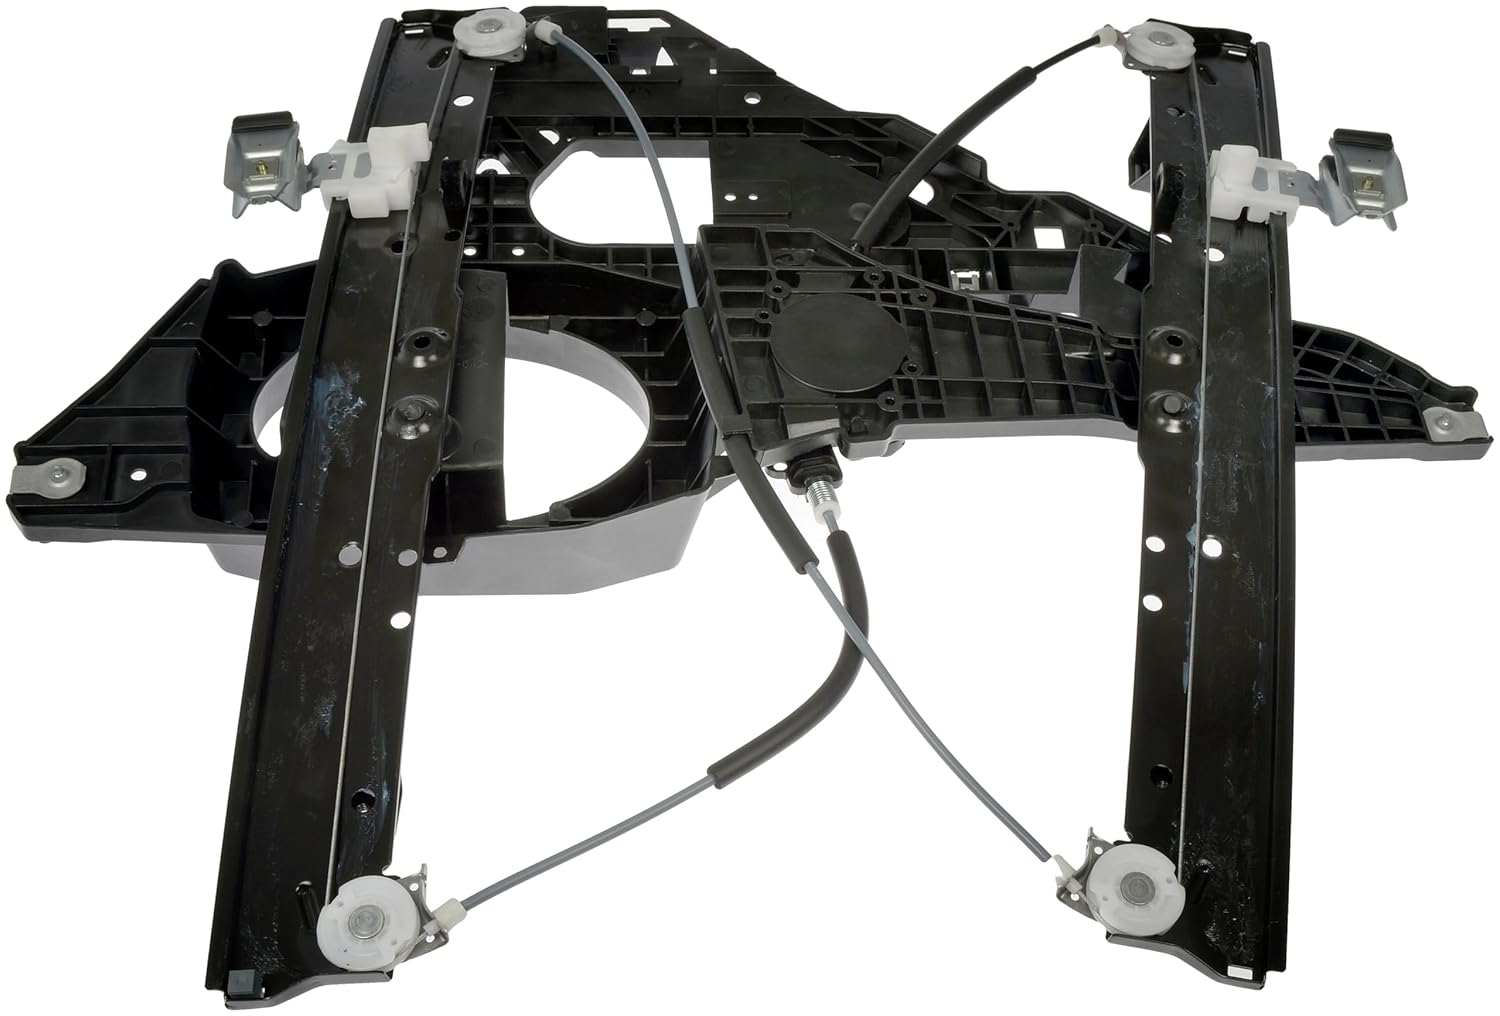
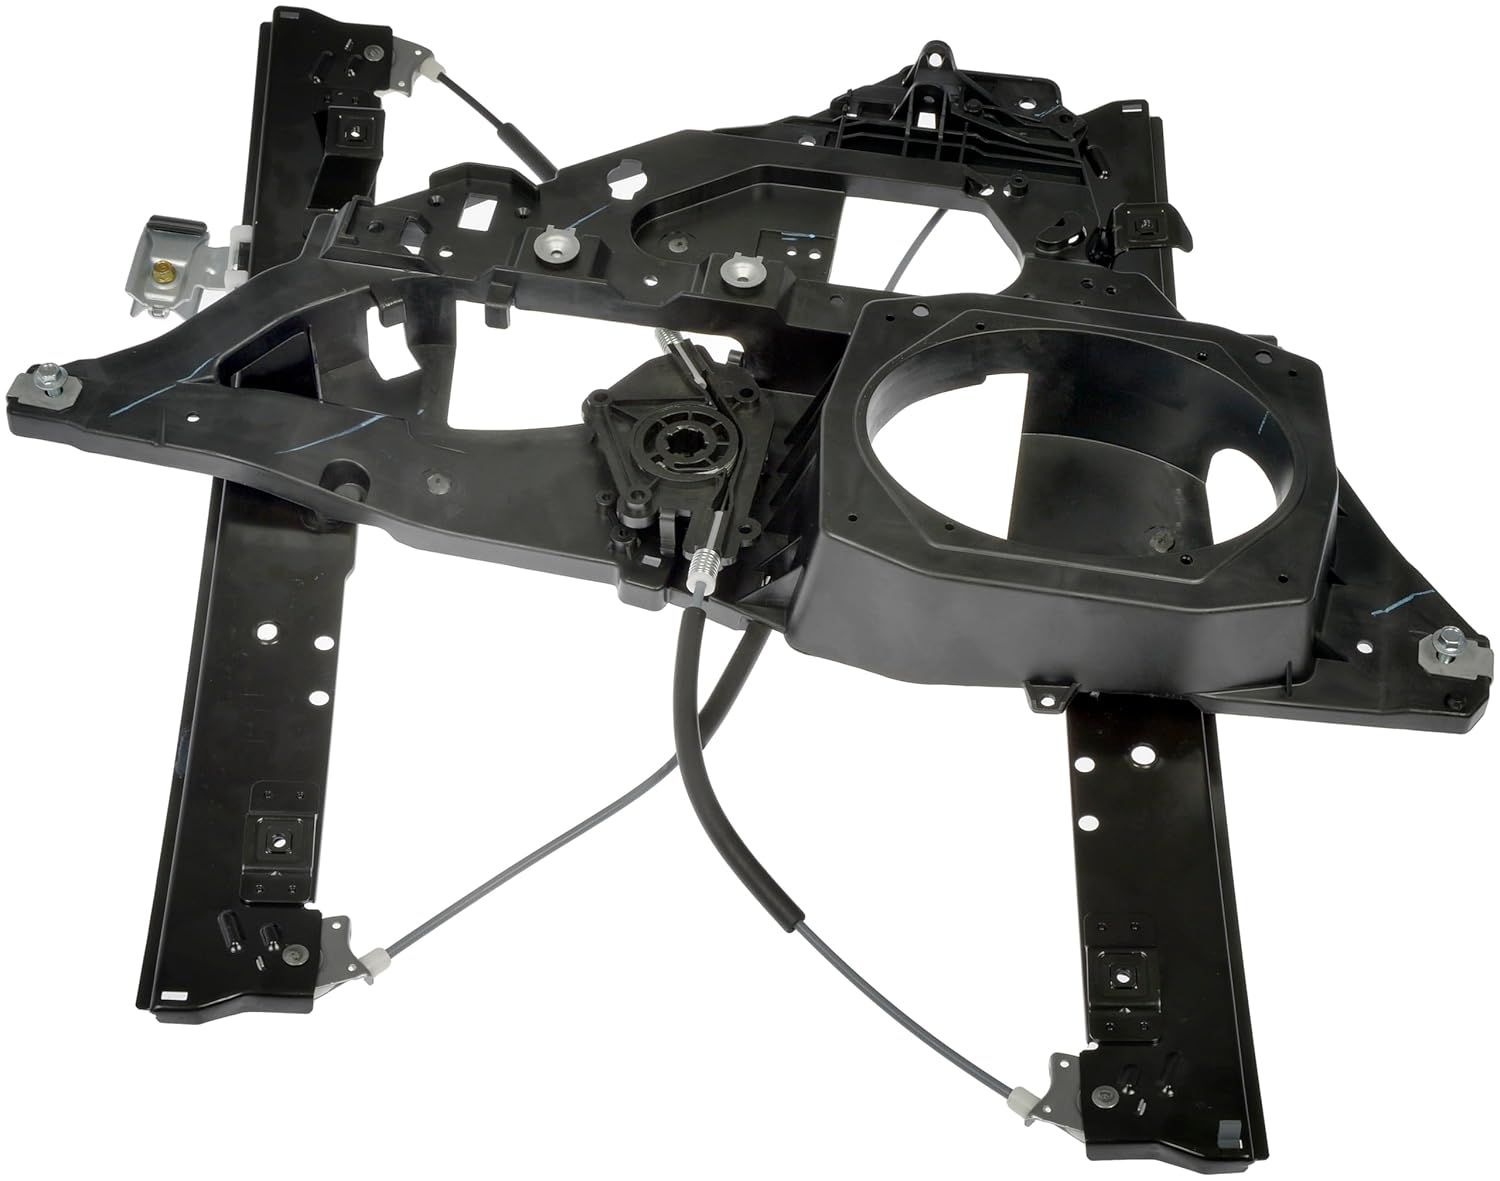

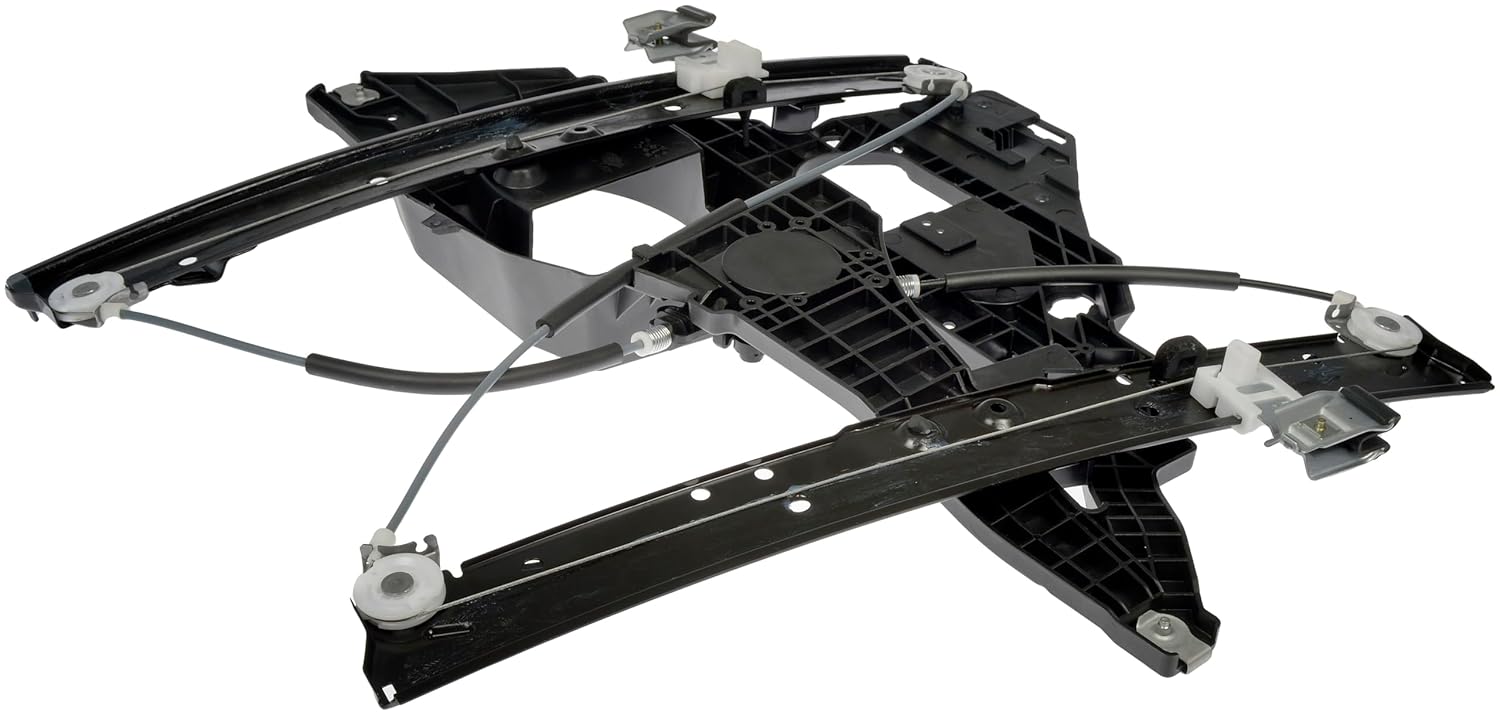


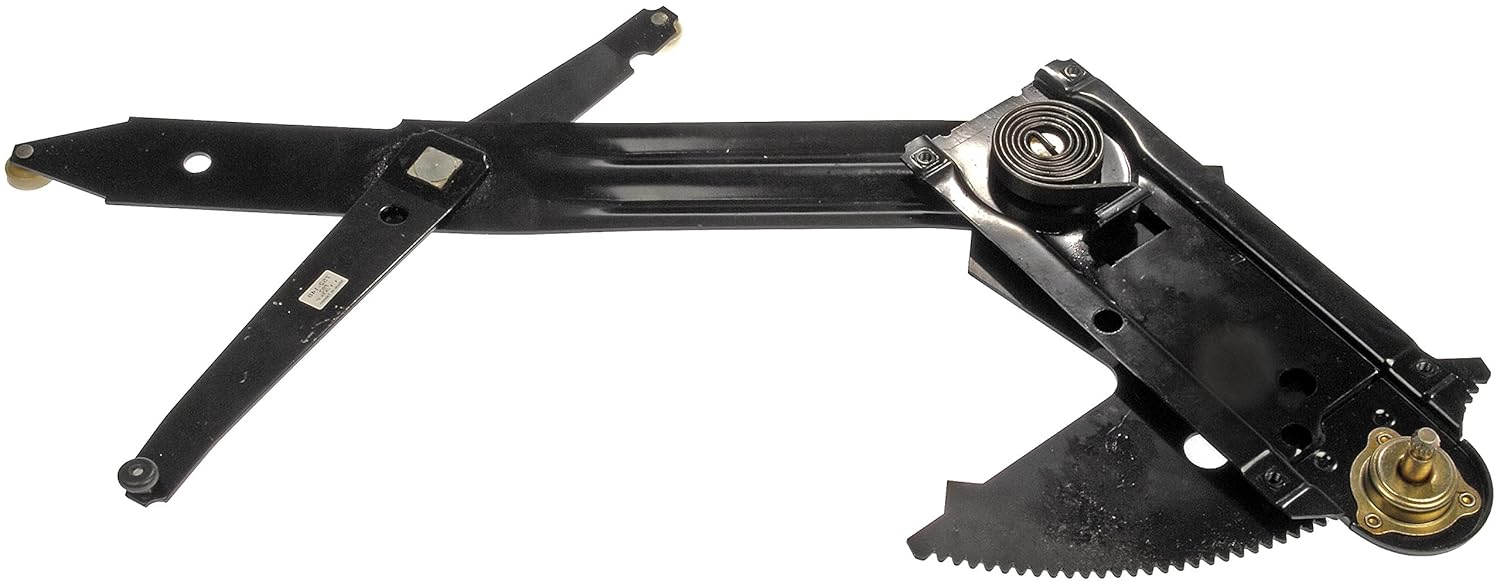
Descrição do Produto: Dorman 749-542 Regulador de Janela Elétrica Lado do Motorista
O Dorman 749-542 é um regulador de janela elétrica projetado especificamente para o lado do motorista, compatível com diversos modelos da Ford e Lincoln. Este produto é uma solução de substituição aprimorada, que apresenta melhorias significativas em relação ao design original, garantindo maior confiabilidade e desempenho. Com um design resistente a falhas, o regulador incorpora um bloco deslizante de janela redesenhado, que oferece uma durabilidade consideravelmente superior em comparação com o equipamento original.
A instalação deste regulador é simples e não requer ferramentas especiais, tornando o processo de substituição acessível mesmo para aqueles que não possuem experiência em mecânica. A engenharia de qualidade do Dorman 749-542 foi realizada utilizando análise de elementos finitos, testes de ciclo em porta e testes de compressão do bloco deslizante, assegurando que cada componente atenda aos mais altos padrões de durabilidade.
Para garantir que este regulador se encaixe perfeitamente em seu veículo, basta inserir a marca, modelo e nível de acabamento no nosso ferramenta de compatibilidade. Isso assegura que você está adquirindo um produto que atende às especificações exatas do seu automóvel.
Instruções de Uso:
Para utilizar o regulador de janela Dorman 749-542, siga os passos abaixo:
1. Desconexão da Bateria: Antes de iniciar a instalação, desconecte a bateria do veículo para evitar qualquer risco elétrico.
2. Remoção do Painel da Porta: Utilize uma chave de fenda para remover os parafusos e clipes que seguram o painel da porta. Tenha cuidado para não danificar os componentes.
3. Desconexão do Regulador Antigo: Desconecte o regulador de janela antigo, removendo os conectores elétricos e os parafusos que o fixam.
4. Instalação do Novo Regulador: Posicione o Dorman 749-542 no lugar do regulador antigo e fixe-o com os parafusos. Conecte os conectores elétricos.
5. Recolocação do Painel da Porta: Reinstale o painel da porta, certificando-se de que todos os clipes e parafusos estejam bem fixos.
6. Reconexão da Bateria: Por fim, reconecte a bateria e teste o funcionamento da janela.
Características do Produto:
– Modelo: Dorman 749-542
– Tipo: Regulador de Janela Elétrica (Somente Regulador)
– Compatibilidade: Modelos selecionados da Ford e Lincoln
– Design: Melhorado para maior confiabilidade
– Durabilidade: Bloco deslizante redesenhado para resistência a falhas
– Instalação: Simples, sem necessidade de ferramentas especiais
– Engenharia: Análise de elementos finitos e testes rigorosos de durabilidade
– Garantia de Ajuste: Ferramenta de compatibilidade disponível para verificação
Perguntas Frequentes (FAQ):
Pergunta: O Dorman 749-542 é compatível com meu veículo?
Resposta: Para garantir a compatibilidade, insira a marca, modelo e nível de acabamento do seu veículo na ferramenta de compatibilidade disponível em nosso site.
Pergunta: É difícil instalar o regulador de janela?
Resposta: Não, a instalação é simples e não requer ferramentas especiais. Siga as instruções de uso para um processo tranquilo.
Pergunta: O que diferencia o Dorman 749-542 de outros reguladores de janela?
Resposta: O Dorman 749-542 apresenta um design aprimorado e um bloco deslizante redesenhado, oferecendo maior durabilidade e resistência a falhas em comparação com os reguladores originais.
Pergunta: O regulador vem com garantia?
Resposta: Sim, o Dorman 749-542 geralmente vem com uma garantia limitada, mas é importante verificar os detalhes específicos no momento da compra.
Pergunta: Posso usar o regulador se meu carro tiver um sistema elétrico diferente?
Resposta: O Dorman 749-542 é projetado para funcionar com sistemas elétricos específicos da Ford e Lincoln. Verifique a compatibilidade antes da compra para evitar problemas.


Just an Amazon Customer –
Came Friday, installed Saturday. Mine came fully assembled, even had the hanger bolts in. The instructions are generic, go online and there are several tutorials. This is not a beginner level job, but not out of the realm of a good ‘weekend mechanic’.
The regulator I received appears marginally better made than the OEM part I took out. That is uncommon, but this seem to be a high failure part. The fit was ‘close enough’ as body parts often have a little ‘wiggle room’. Every thing was in place save the electrical parts and their anchors. I am quite satisfied and would buy another.
TeesMobile1 –
Works great. Easy to install. Exact fit
Michael Mccarty –
Lets start by saying I possess a bit of mechanical knowledge. I had also tore the door apart once beforehand to see why my window on my 2007 Ford Expedition had decided to stay in the down position. That being said this item fit the bill perfectly. Ford has a problem with the regulators, not being geared properly and small amounts of water making its way down into the cables on the gearbox causing them to rust and break. The later is the problem I had. I purchased this item off amazon and installed it the following weekend. Replacement was simple and straightfoward. There are many youtube videos and websites out the to lead you through the process. The part went in easily and was as an exact replacement as I see. Only mistake I made was I didnt properly seat my door handle release cable. So joy of joy, after testing the window I locked the car up and went about my weekend. Monday morning I drove to work and could not open my car door from the inside to get out. Thankfully I had fixed my window so I could roll it down and open the car door from the outside. Fixed it that afternoon after work. The new driverside window I replaced goes down about twice as fast as the original passenger side. I think when cooler weather comes in I will be replacing the otherside as well. Excellent part.
Zeeburger –
You need to take your time and AND pictures prior to the repair (how wire harnesses are routed etc).
Then take your time to disassemble the older unit. Once you understand that, the install of the new one is a breeze by just reversing the operation. It took me under 2 hrs beginning to end and that is with a few mistakes. Do not force things to get the new one in just take your time to insert it.
If I had to do it again I think I believe I can do it in under an hour.
Too early to judge durability but seems to be a good product.
Jay –
This regulator was a perfect replacement on my 2016 Navigator. Easy to install and worked perfectly after replacement.
Flatline –
Appears identical to original in every way and window now moves up and down very quickly.
*6 year update:. Still operating but now slower rolling up. Other than that no issues.
J. Laus –
Excellent product. Works better the OEM equipment. The drum that the cable spools on for operating the regulator is slightly smaller then original which provides more torque for open and closing. Good for those of us who live in cold climates and experience windows freezing up. High recommend. Here are step by step instructions I found. […]
Took me 2 hours to do and could probably replace one in 45 minutes now that I have done one.
Con: It appears there a 2 different sets of mounting holes for the motor(I assume for use with multiple models of vehicle). On the set of mounts not used one grommet(not sure what to call it) interferes with the proper mounting. You will have to shave that one down. (I just hack sawed it off)
DM –
Purchase these for my expedition installation was quick and easy so far so good
Justin Loepp –
First of, the item didn’t come fully assembled as there are two rubber grommets one on each window rail that kept popping off at least half dozen times that I had to reattach. not to mention that one of the sides was missing the spacer that it should have so I had to rip it off the old one to use but it got to the point that I didn’t even both the last time it popped off and just left it hanging especially since I had already cut my hand once. Very disappointing. In addition, it seemed like some of the screws didn’t line up properly either. I’ve replaced the same regulator before and it took me half the time it took today. Lets hope it holds up
mattsdrumset –
You have to unbolt everything from the plastic housing that is already inside of your door, and bolt them all up to this. I must have mis-read the item description because I thought that it came with a new bosch motor.
I had to follow this procedure about 5 times to get the bounceback to quit on the window after the installation. Now, it works perfectly. Time will tell the quality.
De-Initialization Procedure
1.Start with the ignition key in the RUN position and open one front door.
2.NOTE: Steps 2 and 3 must be performed within 8 seconds.
Turn the ignition key from OFF to RUN 5 times.
3.Press the window control switch to the one-touch DOWN position (second detent) and release.
Window Motor Initialization
WARNING: Keep objects and body parts clear of the glass panel when carrying out the initialization procedure. During the initialization procedure, the glass panel closes with high force and cannot detect objects in its path. Failure to follow this instruction may result in serious personal injury.
4.Start with the ignition key in the OFF position and with the LF/RF door open.
5.Turn the ignition key to the ON position.
6.Activate and hold the window control switch in the one-touch DOWN position (second detent) until the window glass stalls for 2 seconds at the bottom of its travel and release the switch.
7.NOTE: After performing this step, wait a minimum of 3 seconds before operating the window control switch or ignition switch.
Activate and hold the window control switch (with no interruptions) in the one-touch UP position (second detent) until the window glass stalls for 2 seconds into the glass top run and release the switch.
8.Verify correct operation of the window by carrying out the one-touch up and one-touch down features. If the window does not operate correctly, carefully repeat this procedure.