 Frete Grátis em todos os produtos
- Direct replacement – this manifold converter is designed to match the fit and performance of the original equipment on specific vehicles
- Convenient kit – includes gaskets and downpipe hardware to simplify installation
- Durable construction -manufactured within strict tolerances for reliable longevity
- Trustworthy value – backed by team of engineers and quality control experts in the United States
- Ensure fit – to make sure this part fits your exact vehicle, input your make, model and trim level into the garage tool


 Dorman 674-100 Exhaust Manifold Kit - Includes Required Gaskets and Hardware Compatible with Select Chevrolet / GMC Models
*$1,688.10
Dorman 674-100 Exhaust Manifold Kit - Includes Required Gaskets and Hardware Compatible with Select Chevrolet / GMC Models
*$1,688.10
 MagnaFlow Catalytic Converter 49445: OEM Grade, Direct-Fit, For 2009-2017 Chevrolet Traverse (EPA Compliant)
*$4,807.60
MagnaFlow Catalytic Converter 49445: OEM Grade, Direct-Fit, For 2009-2017 Chevrolet Traverse (EPA Compliant)
*$4,807.60
Frete Grátis em todo o BrasilProduto Original Importado dos EUA
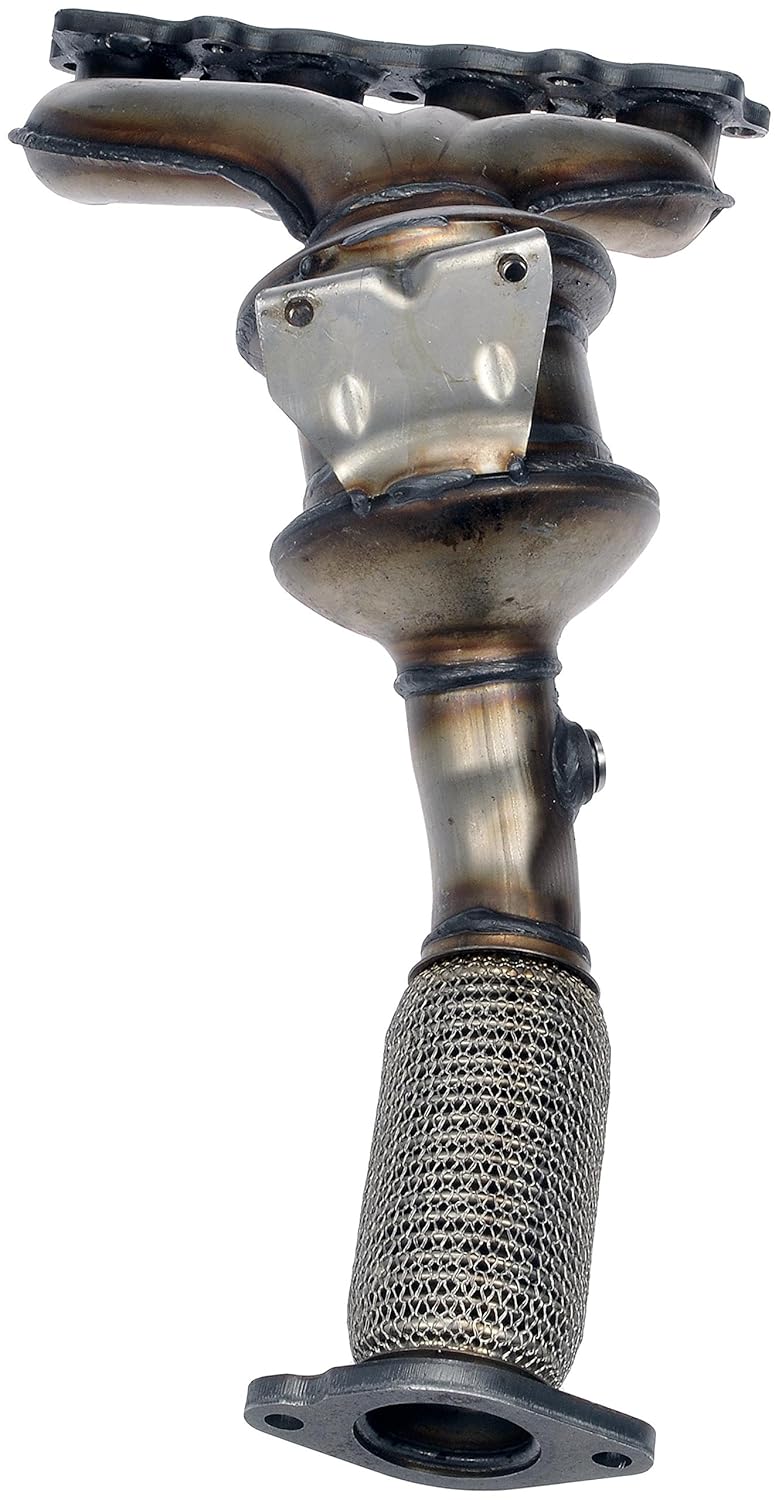
Dorman 674-927 Manifold Converter – Not CARB Compliant Compatible with Select Ford Models (Made in USA)
*$4,151.00
Informação adicional
| Brand | Dorman |
|---|---|
| Item dimensions L x W x H | 33 x 22 x 10 inches |
| Vehicle Service Type | Car |
| UPC | 885484543034 |
| Manufacturer | Dorman Products |
| Global Trade Identification Number | 00885484543034 |
| OEM Part Number | 16610, 30600, 49552, AE8Z5G232A |
| Model | Dorman 674-927: Manifold Converter – Not Carb Compliant |
| Item Weight | 14.56 pounds |
| Product Dimensions | 33 x 22 x 10 inches |
| Country of Origin | USA |
| Item model number | 674-927 |
| Is Discontinued By Manufacturer | No |
| Exterior | Machined |
| Manufacturer Part Number | 674-927 |
| Date First Available | January 5, 2018 |


laurie casby –
Replaced cat. Followed brake in and the next day the light is back on Cat efficiency. What a waste of $330.
nonameguy –
I bought this one after I tried one of the low cost versions.
I have now done it twice and I am really fast at it.
You won’t be fast on your first try, so get this one and remain slow at it…
Lorin McAllister –
Availability and did not require excessive work to install plus a great price
john funderburk –
Twas not an easy install but it works perfectly. I had my a/c system evacuated and removed the line on the low side line of the evaporator core along with the passenger CV axle to make it fit. I had to cut the old manifold out in pieces to remove it. I installed the oxygen sensors on the car along with the heat shield after all else was put back together. Good luck to anyone attempting this job!
Cole Castel –
Pretty easy to install once you get the old one out. Fit on my 2013 Ford Fiesta SE and got me through emissions. WATCH the YouTube video from Alex TC, very helpful. Only thing missing are the bolts connecting flex pipe to exhaust tube, since the OEM uses welded studs. Order yourself 2 sets of 3/8 x 2 nut and bolts for that flange. You can clean your O2 sensors!
H. Ault –
The manifold and converter are very similar to the original one, though the body of the replacement converter seems smaller; it is possible that the factory unit’s core is no larger than this one, so I can’t say if the appearance in that area means anything. The results of the run test showed that it was fully functional (downstream O2 sensor voltage hovering steadily in the area of 7.0V to 7.3V), and there were no rattles or poor-fitting flanges, but the upper O2 sensor location did not line up well with the factory hole in the heat shield; some “adjusting” was needed in order to get a wrench on the sensor to tighten it in place with the shield mounted. It’s easier to install the sensor before mounting the manifold, but make sure that the heat shield is going to have room to get a wrench on the sensor later on, or someday you will be cursing whoever omitted this step. (DO NOT LEAVE THE HEAT SHIELD OFF.) Unfortunately, the heat shield must be off of the manifold in order to get access to the mounting studs and bolt on the head, so make sure that you have a flashlight, a mirror, and a helper to assist in getting the shield lined up with the mounting points. Also, the factory unit had welded-in studs in the lower flange, while this one just has bolt holes – and no bolts are included. If you old unit’s nuts come off undamaged, just grab a pair of 10×1.5×40 bolts at a hardware store. If the nuts are rotted in place or otherwise unrecoverable (as often is the case), get matching nuts as well. Not having the lower flange studs welded in place actually makes the installation easier since you don’t have to worry about getting that part lined up while maneuvering the manifold into position, but it would be nice if the needed bolts and nuts were included. There was a package of hardware for the heat shield and the support bracket, but none for the lower flange. If the bolts for the flange had been present, and had the O2 sensor hole lined up perfectly with the heat shield, this would have earned a fifth star. As it is, if you know about the problems up front, it’s easy enough to deal with them, and the price is very much worth the minor hassles.
Cole Castel –
Works fine. if you do not have a motor puller, You can move engine enough by removing mounts and using floor jacks to lower engine slightly and will need a friend to move engine off of motor mounts while the car is jacked up itself. It took us a couple of hours to figure it out. Heat sheild is a slight challenge, but will go on rather easily once first bolt is in place. You need to use a code reader to reset code. The other review that was put on here was extremely helpful. I would suggest reading it before starting. I have driven the car a few hundred miles with no problems.
Old school Dad –
Worked like it should make sure you fit heat shield and bolts to this before install . Also test fit holes for engine bracket before install . I didn’t and had to do some grinding to make hole bigger because I already torqued the manifold down don’t use Or gasket used supplied or thicker aftermarket gaskets . I replace all engine hardware it was pricey but worth it I think you screwing into an Aluminum block don’t mess up! Don’t over tighten oh didn’t have time to reset po420 and light went out on own after a few days of driving !!! So Cat is working I replaced to because flex pipe was shot as well.