 Frete Grátis em todos os produtos


Descrição do Produto: Filtro de Ar do Cabine ACDelco GM Original Equipment CF184
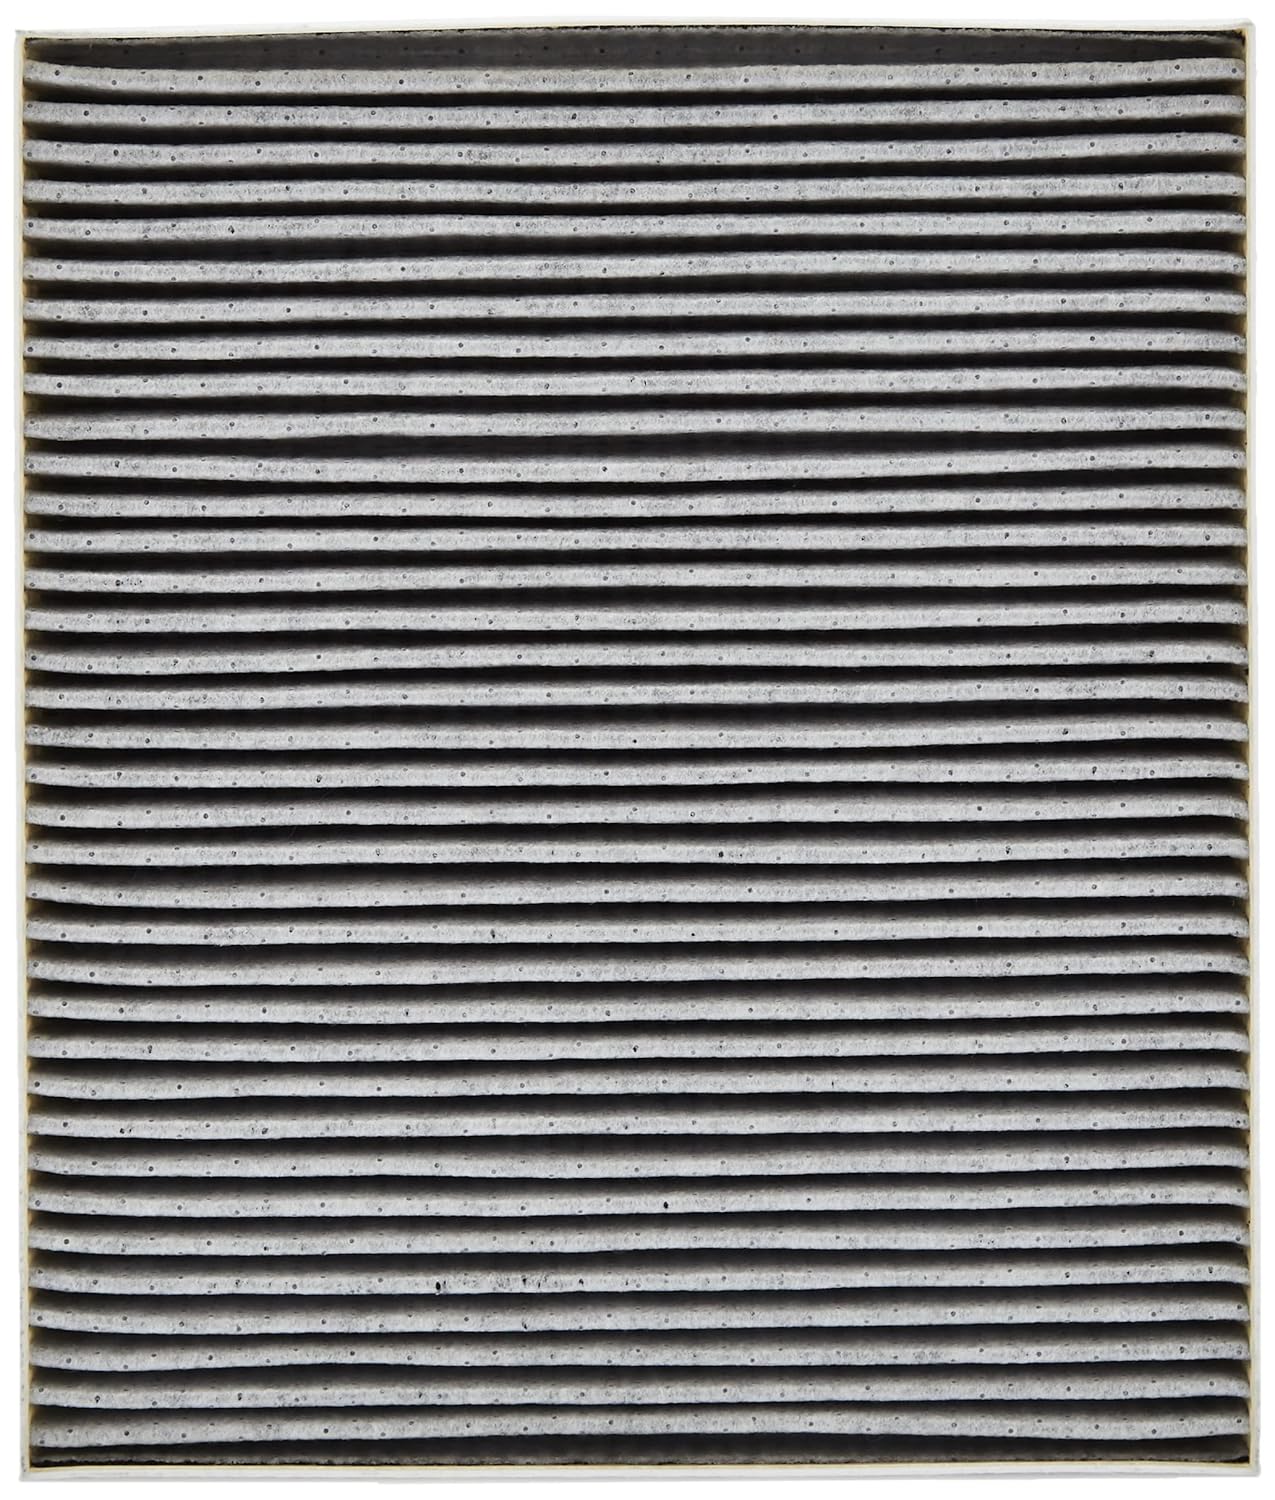
O Filtro de Ar do Cabine ACDelco GM Original Equipment CF184 é um componente essencial para garantir a qualidade do ar que circula dentro do seu veículo. Equipado com uma mídia longa em material não tecido e uma combinação de mídias, este filtro é projetado para capturar partículas indesejadas, ao mesmo tempo em que aumenta o fluxo de ar. Sua construção em múltiplas camadas cria uma mídia ‘separada’, permitindo que ele contenha uma variedade de partículas, desde poeira até poluentes, proporcionando um ambiente mais saudável para os ocupantes do veículo.
Os componentes ACDelco GM Original Equipment são desenvolvidos, projetados e testados sob rigorosos padrões de qualidade, sendo respaldados pela General Motors. Os engenheiros da GM projetam e validam as peças originais especificamente para veículos Chevrolet, Buick, GMC ou Cadillac, garantindo que cada filtro atenda às exigências de desempenho e durabilidade. Além disso, a GM atualiza regularmente os designs de produção e peças de serviço para integrar novos materiais e tecnologias, assegurando que você tenha sempre o que há de melhor em termos de inovação e eficiência.
Instruções de Uso:
Para garantir o máximo desempenho do Filtro de Ar do Cabine ACDelco GM Original Equipment CF184, recomenda-se a sua substituição a cada 12.000 a 15.000 km ou conforme indicado no manual do proprietário do veículo. A instalação deve ser realizada em um ambiente limpo e seco. Para trocar o filtro, localize o compartimento do filtro de ar do cabine, remova a tampa de acesso, retire o filtro antigo e insira o novo, certificando-se de que ele esteja posicionado corretamente. Após a instalação, feche a tampa de acesso e verifique se não há vazamentos.
Características do Produto:
– Mídia Longa em Material Não Tecido: Aumenta a eficiência na captura de partículas, melhorando o fluxo de ar.
– Construção em Múltiplas Camadas: Proporciona uma separação eficaz das mídias, aumentando a capacidade de retenção de partículas.
– Compatibilidade: Projetado especificamente para veículos Chevrolet, Buick, GMC e Cadillac.
– Qualidade Garantida: Peças ACDelco são testadas e aprovadas pela General Motors, assegurando durabilidade e desempenho.
– Atualizações Regulares: Integra novas tecnologias e materiais para um desempenho otimizado.
Perguntas Frequentes (FAQ):
Pergunta: Com que frequência devo trocar o filtro de ar do cabine?
Resposta: Recomenda-se a substituição a cada 12.000 a 15.000 km, ou conforme indicado no manual do proprietário.
Pergunta: O filtro CF184 é compatível com meu veículo?
Resposta: Este filtro é projetado especificamente para veículos Chevrolet, Buick, GMC e Cadillac. Verifique o manual do proprietário para confirmação.
Pergunta: Posso instalar o filtro eu mesmo?
Resposta: Sim, a instalação é simples e pode ser feita em casa, seguindo as instruções de uso.
Pergunta: O que acontece se eu não trocar o filtro regularmente?
Resposta: A falta de manutenção pode resultar em um fluxo de ar reduzido e na entrada de poluentes no interior do veículo, afetando a qualidade do ar.
Pergunta: O filtro ACDelco CF184 é melhor do que outros filtros do mercado?
Resposta: Sim, os filtros ACDelco são projetados e testados sob rigorosos padrões de qualidade, garantindo desempenho superior e durabilidade em comparação com muitos filtros genéricos.


Moto Man –
This looks to be a much better quality filter than the OEM one I removed from my 2019 Camaro SS. After 2 years of ownership I decided it was time to change this filter, as the A/C is starting to smell a bit at startup, and was I ever surprised what the original filter looked like. Not terribly dirty, but there were small pieces of debris that somehow got into the intake system, luckily caught by the filter. And I baby this car, keeping it as clean as possible! This new filter has a charcoal layer where the original did not, and the original filter was definitely more flimsy than this new one.
As for the installation, yes it is more difficult than it should be, but not impossible. Pulling the glove box down which requires both sides to be dislodged from the edges, was not easy at all. I decided to use a large-handled, 12″ crescent wrench wrapped in a thick, micro fiber cloth (the handle, not the head), carefully wedged between each of the ends of the glove box and the dash as my pry bar. It took significant effort to get each side loose, as you must bring each retention/pivot pin on the glove box out of the dash where it resides, so that the glove box can be dropped down low enough to access the cabin filter. Having a pry bar made this so much easier and took much less effort than trying to muscle it by hand. Just protect the dash with a soft cloth or towel so you don’t scratch or damage the plastic of the dash or glove box. I’m no pro wrestler, but still I figured I could probably get it loose just by hand. Wrong again! Just have a suitable pry bar ready and it’ll be so much easier and quicker.
One note while working to release the glove box, there is a tension cord on the outer right hand side that needs to be slipped out of place before the glove box can be lowered much beyond it’s normal travel. I waited until I had the glove box loose on both sides to undo this, so I didn’t let it snap back behind the glove box and possibly damage anything. The roll up tension on this seems to be rather tight, so it definitely would snap if you let go of it, kind of like a high quality tape measure would if you pull it out and just let it go.
Once the cabin filter location is accessible, it’s just a matter of pinching both sides of the filter cover to release all 4 retention latches and remove the cover from the housing. It’s all up in there a ways, so either have decent flexibility, or get someone who is somewhat flexible to help. It won’t be the most comfortable job you’ve ever done, but it only takes a few minutes to do if you’re prepared. Mine seemed somewhat loose and did not pose any difficulty at all to remove the cover. Actually made me unsure that the cover was securely latched when I reassembled it, but after testing it a few times I knew it wasn’t actually going to come back off.
Carefully pull out the old filter, and if you’re worried about knocking all the dust and crap loose, because you likely will see a lot more than you think trapped in the filter, just have a shop vac ready to suck up as much of the loose dust as you can while removing the old filter. Also note the direction of installation, because it does have an arrow showing the direction it needs to go back in based on the air travel. Since this new filter will likely be more rigid than your old filter, it may take just a bit more force to get it back into place. Regardless, the filter doesn’t seem to fit too tightly or anything, the final resting position is actually a bit roomy.
Put the cover back on and check to make sure the latches are secure. This is where I found uncertainty in my car’s filter cover, as it fit back together kind of loose and the corner latches never did really “snap” into place. Regardless when I gently pulled on the middle of the cover, it did not come off, so I knew it was secure.
Once you are certain the cover is securely in place with the new filter all comfy inside, remember to grab that tension cord that is likely spooled all the way back up to the rear of the glove box area in the dash. Pull the tension cord down, and at the same time begin pushing the glove box back up into place. Several people have suggested wrapping a string or something around the tension cord as not to lose it, but I found that you’ll need to be able to grab and pull it back into place anyways, and in my car I was confident it couldn’t go anywhere after I carefully allowed it to reel up when I disconnected it. It’ll take another bit of forceful effort to pop the retention/pivot pins of the glove box back into each side’s pockets in the dash, but should be easier than the removal process was. Have the tension cord on the right side in hand, and be ready to slip it back into place as you bring the glove box back into position.
Once everything is back into place with both sides of the glove box securely in position and the tension cord reconnected to the right side of the glove box, you can now consider this job complete! Enjoy you’re new cabin filter for as long as it lasts until you have the pleasure of changing it again. If you decide you’d like to try a different filter, such as a scented version or otherwise, I hear this process isn’t quite as difficult the second or third time around.
Search the internet and YouTube for videos and additional details, as there are plenty of resources to help you with this task. I have heard mechanics and especially dealerships (or as I call them, stealerships) charge upwards of $100 or more just to change out this $15-$20 filter that you can easily do yourself if you have a bit of patience and about 10 minutes of time.
Good Luck!!!
Keith –
The item is top shelf. And it drops right into the slot provided in the Cadillac XTS. However, the YouTube instructions exaggerate the ease of installation. Dropping the glove box door is super easy and it literally falls open, when you pull the tabs inward that you find on each side of the door. Remove the tension wire and softly allow it to retract. It should leave enough visible for you to extend it again for reinstallation but don’t let it fly or it may over-retract and disappear forever inside the reel. If you are nervous, put something in the loop to block it from over-retracting. Yes, there are three screws in the panel holding the CD player that has to be removed. But it still needs a very vigorous yank. When I got it out, I discovered there are five push clips behind that also have to release. They will – if you tug vigorously. It’s a strong panel – don’t be afraid to give it a solid yank so those clips in the back release. And the push fastener that positions the wire that’s obstructing removal is also seated very firmly. Use a pry tool if you have them. And don’t reseat it all the way – after all, once you’ve done this the first time, you’re going to want to change that filter regularly. And yes, the air definitely smells fresher in my car. Of course, my filter was years old, but I truly notice the difference. Oh, one more tidbit. The door that closes out the front of the filter box has a clip on each side. I poked it and tried to compress it like I do with electrical clips and it didn’t release. Finally, I discovered that you must reach back and lift the clip off a peg so the door releases. Reach and Lift, don’t Push, and Poke. LOL It doesn’t pop up by itself. You lift the clip which functions similar to a hasp, to release it. Go figure. Overall, now that I’ve done it, I’d rate it as moderately easy and I’ll be able to repeat it in 10 minutes or less.
One last hint – if you discover that there are some larger objects such as leaves and nuts etc. sitting on the old filter when you remove it, they may get swept off the filter and fall into the fan below. Don’t despair – the fan blade completely blocks the items from falling any further. Use your fingers to search the fan blade (by feel) as you slowly rotate it and just remove anything that fell in there. Of course, don’t turn the fan on while your fingers are in range of the fan blade. Leave the key fob in the house for safety. Or if you are nervous, disconnect the battery.
derwin lees –
Just what I wanted
WRS –
This cabin air filter was a replacement filter for routines Maintenace on my 2016 Cadillac SRX. The filter fit as it should. The filter was new out of the box and was clean. No issues or concerns with this filter. Seems to be doing it’s job.
Ahmed –
Excellent product
B –
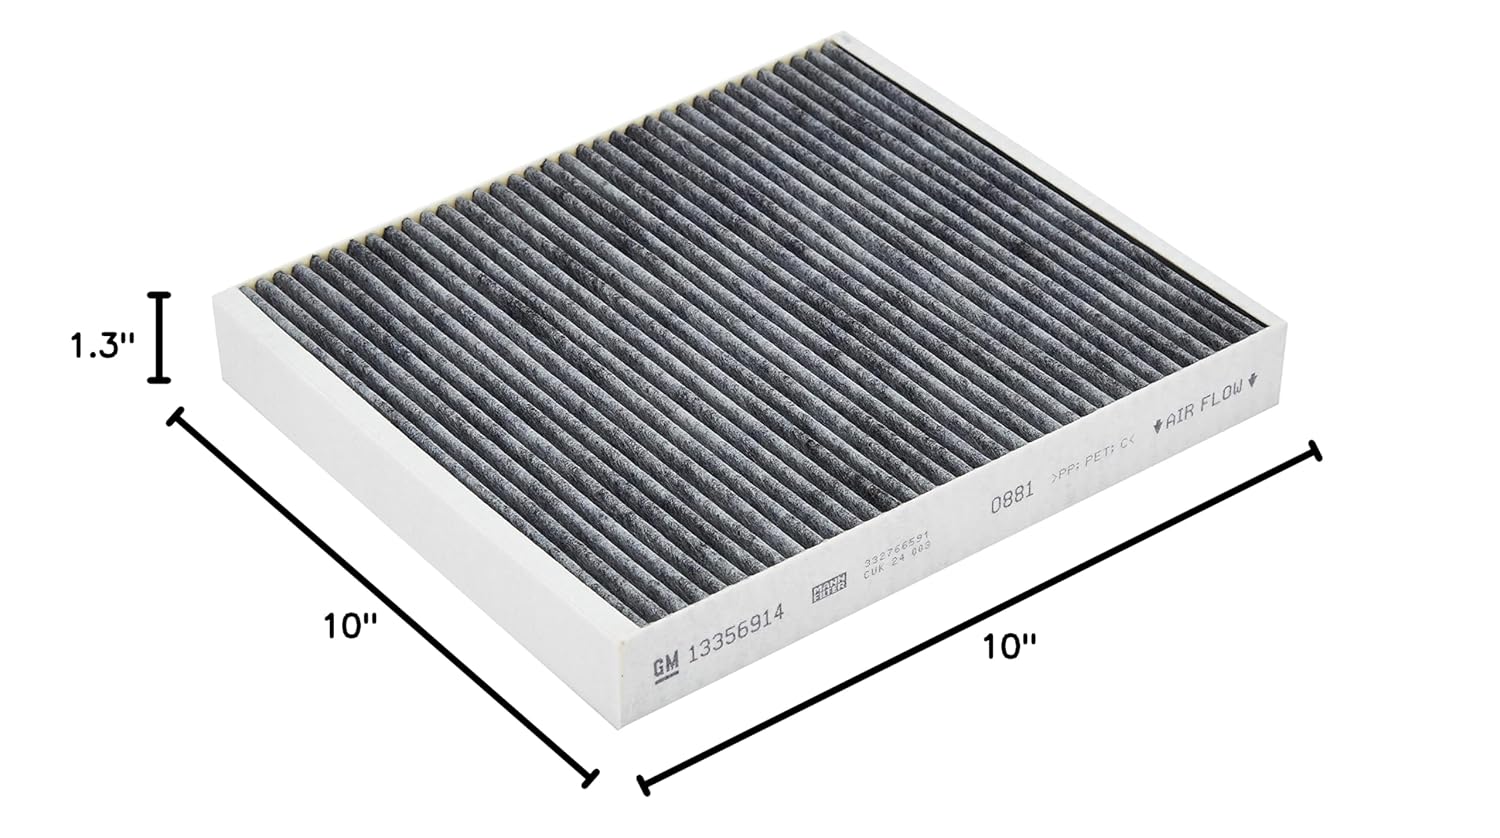
I bought this filter on Amazon GM 13356914 because it was cheaper than the auto parts store by about $8. The filter is good, direct replacement. It fits snug and will filter the cabin air. This filter will fit 2010-2016 Cadillac SRX. The one issue I did have was I typed in the GM part number and CF184 came up. Amazon said this filter would not fit my vehicle but it clearly does. And online I searched auto parts stores and they had the same CF184 filter for my vehicle. But filter works great, and is less expensive on Amazon, for my vehicle and this part does fit a SRX. So if you can’t find one in town I would suggest buying this one. This is a very nice replacement filter and does the job well.
Tony –
Original product, easy installation. Fits all Astra K 2016 up to 2019. Not too sure on 2020 PSA Astra.
Jesus Rafael Martinez Chavez –
Producto a la medida del vehículo , más barato que en Agencia y se remplaza rapidísimo
Ben Jaroski –
This is a factory GM cabin air filter, great quality and made in Germany. Replacing these filters is a very easy job. Once you’ve done it a couple of times you can change these in less than 2 minutes. Save a bunch of money and do this job yourself!
M. Otto S. –
Fit perfectly
Good price
Original Chevy (AC Delco) part