 Frete Grátis em todos os produtos
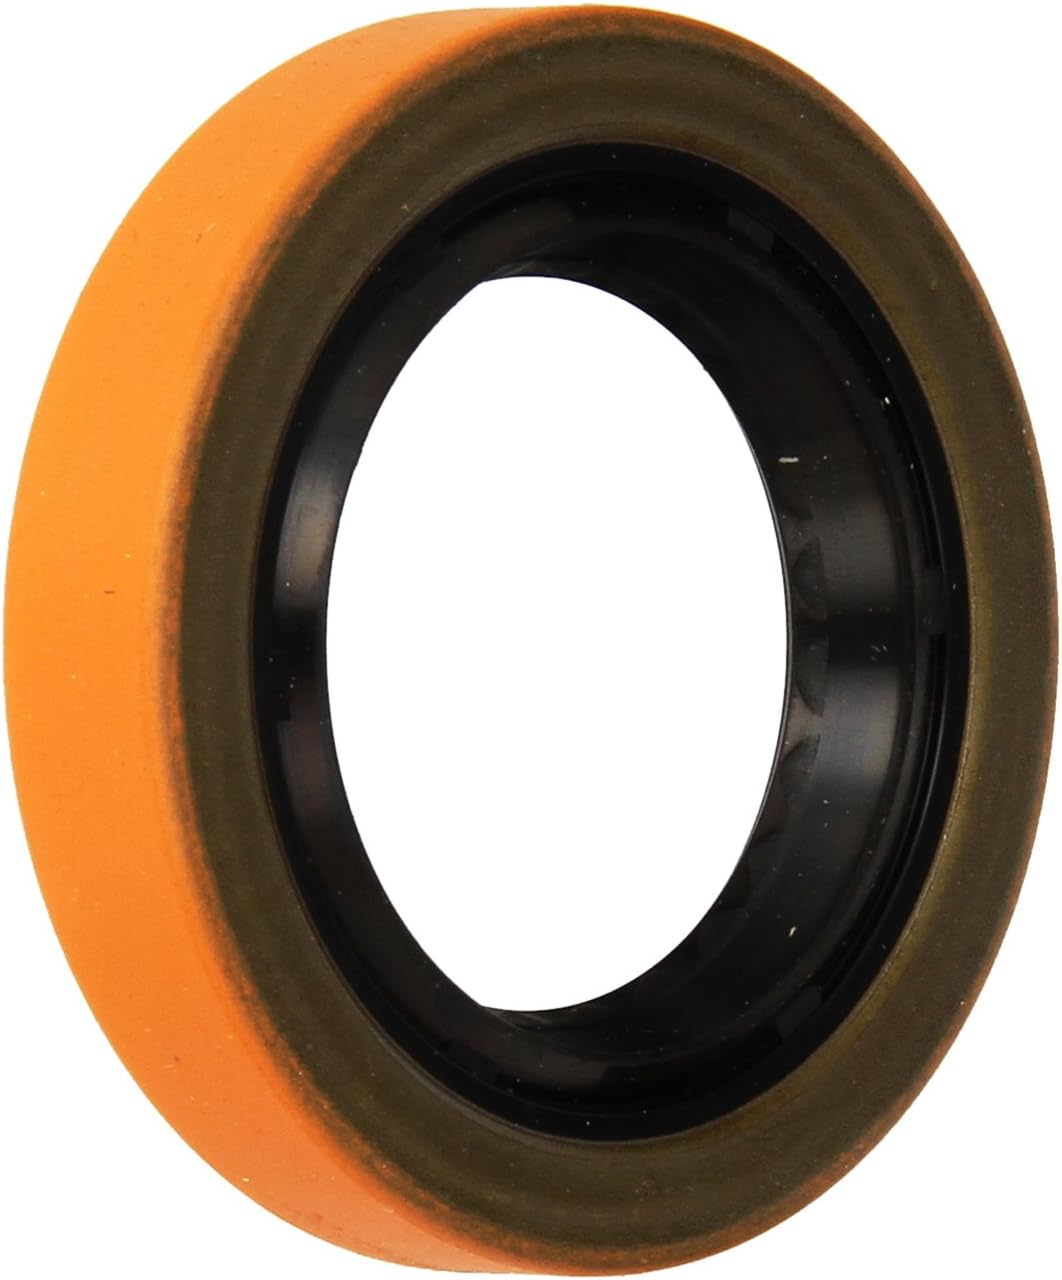
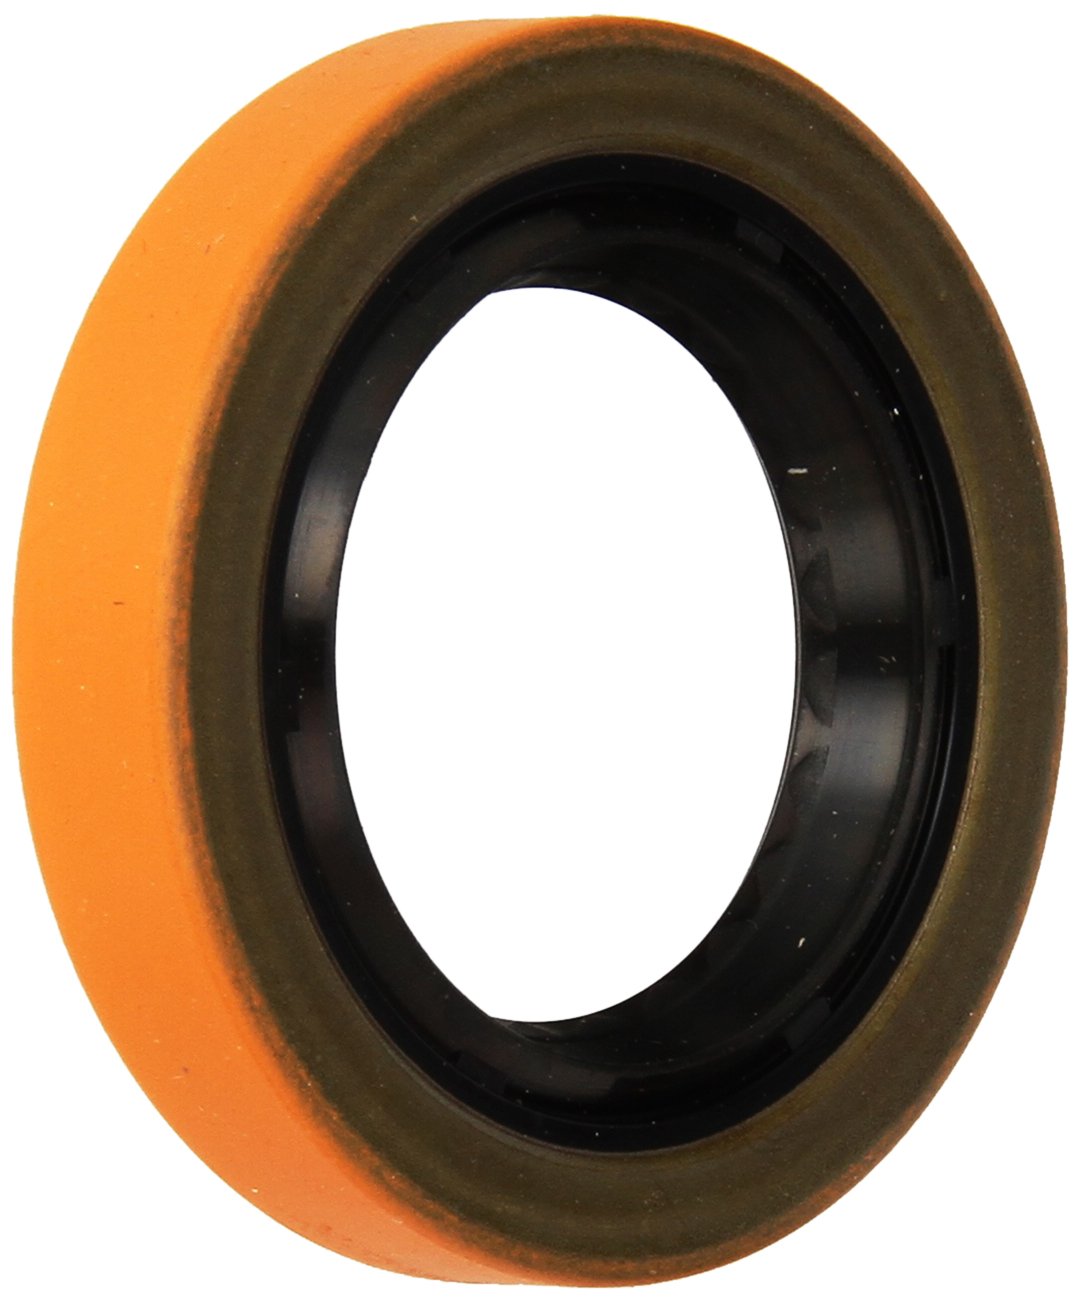


Descrição do Produto: Timken 8835S Seal
O selo Timken 8835S é a solução definitiva para quem busca proteção e eficiência em sistemas mecânicos. Com um design inovador, este selo é projetado para prevenir vazamentos, garantindo que o fluido permaneça contido e que a operação da máquina seja otimizada. Sua excelente capacidade de vedação é um dos principais diferenciais, permitindo que o Timken 8835S mantenha a integridade do sistema mesmo sob condições adversas.
Este selo é especialmente desenvolvido para resistir a abrasivos, umidade corrosiva e outros contaminantes prejudiciais que podem comprometer o desempenho das máquinas. A resistência a esses elementos é crucial para prolongar a vida útil do equipamento, reduzindo a necessidade de manutenções frequentes e custos associados. O Timken 8835S oferece uma vida útil superior, o que se traduz em menos paradas não programadas e maior produtividade.
Fabricado sob padrões de qualidade de classe mundial, o Timken 8835S se destaca no mercado por sua confiabilidade e durabilidade. A combinação de materiais de alta performance e tecnologia avançada garante que este selo não apenas atenda, mas supere as expectativas dos usuários mais exigentes.
- Instruções de Uso:
Para garantir o desempenho ideal do selo Timken 8835S, siga estas instruções de uso:
1. Antes da instalação, verifique se a superfície de montagem está limpa e livre de detritos.
2. Aplique uma leve camada de lubrificante compatível ao redor do selo para facilitar a instalação.
3. Posicione o selo cuidadosamente na cavidade designada, assegurando que esteja alinhado corretamente.
4. Utilize ferramentas apropriadas para pressionar o selo no lugar, evitando danos ao material.
5. Após a instalação, realize testes de pressão para garantir que não haja vazamentos.
Características do Produto:
– Modelo: Timken 8835S
– Material: Composto de elastômero de alta resistência
– Dimensões: [Inserir dimensões específicas]
– Temperatura de Operação: -40°C a 120°C
– Pressão Máxima: [Inserir pressão máxima]
– Aplicações: Ideal para uso em sistemas hidráulicos, transmissões e outros equipamentos industriais.
– Certificações: Atende aos padrões ISO 9001 e outras normas internacionais de qualidade.
Perguntas Frequentes (FAQ):
Pergunta: O Timken 8835S é compatível com todos os tipos de máquinas?
Resposta: O Timken 8835S é projetado para uma ampla gama de aplicações, mas é importante verificar as especificações do fabricante da máquina para garantir a compatibilidade.
Pergunta: Como posso saber se o selo está instalado corretamente?
Resposta: Após a instalação, realize um teste de pressão e verifique se há vazamentos. Um selo bem instalado não deve apresentar sinais de vazamento.
Pergunta: Qual é a vida útil esperada do selo Timken 8835S?
Resposta: A vida útil do selo pode variar dependendo das condições de operação, mas, em geral, o Timken 8835S oferece uma durabilidade superior em comparação com selos convencionais.
Pergunta: O que devo fazer se o selo começar a vazar?
Resposta: Se o selo começar a vazar, é recomendável interromper a operação da máquina e inspecionar o selo. Pode ser necessário substituí-lo se houver danos visíveis.
Pergunta: O Timken 8835S é resistente a produtos químicos?
Resposta: Sim, o Timken 8835S é projetado para resistir a uma variedade de produtos químicos, mas é sempre bom consultar a ficha técnica para verificar a compatibilidade com substâncias específicas.


Mike in PA –
I was in need of rear axle seals for my 1993 Ford F-150, as the driver’s side had leaked over the brake drums. I had never performed this task, but I’m confident in my mechanical aptitude when it comes to working on automobiles. The task is messy and smelly, but it’s fairly straightforward and can save you a lot of money. The seals I removed were OEM, so they lasted 31 years. I don’t expect these Timken seals to last as long, but in today’s world, they are one of the better options.
My rear differential is a Ford 8.8″ and has 10 bolts. The axle code is found on the VIN label and there are axle decoders on the web. I originally ordered Spicer 39246 seals, as most every site showed they were applicable to my truck, but their OD was ~0.5″ too large. I think they were for the Heavy Duty (HD) or Dana axles, possibly found on some F-150s and mostly F-250s and above. They were ~3.0″ whereas I needed ~2.6″. Keep this in mind if you opt to perform this task. In hindsight, I should have measured the axle tube diameter to get a feel for what you have installed. Another option is to remove the axle and then measure, but I thought I had the correct part from all the information I was presented. You can barely see the seal behind the axle, so that’s another option to at least get a rough estimate.
As I noted, Timken branded seals and bearings are still a reputable brand. The seals that I received were made in Mexico. National and SKF also come to mind as decent brands. I ordered these late in the afternoon after I learned I had ordered the wrong part, and they arrived the next day allowing me to finish the job. You have to be careful to drive them in evenly so as to not cock them to one side. You generally can recover if you do that, but you also risk damaging the seal. I used a small hammer to initially set them and tried a seal driver kit. That didn’t seem to work well at all, as one side was being driven in more than the other. It wasn’t excessive, but it was noticeable. At that point, you can use the old seal if it’s not mangled to straighten things to where they should.
I left a bit of space between the backside of the seal and the axle bearing. That way, the bearing doesn’t abut against the seal and restrict flow on its outer edge. There were witness marks where the old ones sat, so I drove the new ones into that point. Some folks say to add a small amount of Vaseline to the backside of the seal to hold the spring in place while driving it in. Your call. I didn’t do that, as I didn’t slam the on it. Light to medium taps will get it done. Some folks also say to add some RTV around the outer edge of the seal, that is where it meets the axle, in order to prevent seepage in that area. I opted not to do this, as the outer edge of the seal is coated, and that coating acts as a sealant. There wasn’t any RTV on the OEM seals, but there was some of the seal coating that remained, and I had the same effect when the new seals were installed. That is, there was some of the orange coating at along the seals outer surface where it meets the axle tube. Rub some differential fluid on the area of the seal that goes over the axle, as well as the portion of the axle that goes into the seal. It just helps axle installation and reduces any binding.
Here are a couple of things to make the job easier. Some folks use seal removal tools or a pry bar to remove the old seals. I just used the axle, and it worked great. Just get the axle behind the lip of the seal and start wedging it out. Don’t turn the differential once the cross shaft pin is removed. The spider gears will unseat if the differential is moved too far, and they’ll have to be re-aligned to the carrier. I used a gasket with Permatex High Tack Sealant. That worked quite well, and there are no leaks. I also reviewed that product on Amazon to give you a better idea of how I was successful. Lastly, replace both seals. You don’t want to do this job again if you don’t have to.
Clark –
I was hesitant because it looks a little different from the previous seals but it went in perfect.
Michael Pence –
Did not fit they worked to return quickly
Travis Carden –
Stopped the axle seal leak in our 1984 K10. Easy job to tackle yourself! Jack the rearend up, place on jackstands, pull the diff cover off and drain the oil, pull the axle c-clips off and slide your axles out. Use a seal puller or a screwdriver to remove your old seals, gently tap the new seals into place (I use a small section of a 2×4 so I don’t damage the seal), slide the axles back into place, replace the c-clips, reinstall the cover and fill with the correct gear oil and you’re done. You probably needed to service your differential anyways, so you can accomplish both jobs at once!
TONY W –
seals great
Travis Carden –
Seals fit into the axle tube but the axles didn’t make contact with the rubber. Glad I noticed this before reassembling. Went with Driveworks brand from Autozone and those seals grip the axle nicely.
Stephanie Leskinen –
Timken is the best for quality and this worked on my 1977 k10 with a 12 bolt rear axle.
Ashley –
seals worked as expected